download MongoDB community server from its official website:
https://www.mongodb.com/download-center/community
Open the terminal > move to download folder : 다운로드폴더로 이동
cd Downloads/ Extract the file : 압축파일풀기
tar xzf mongodb-macos-x86.64-x.x.x.tgz
move the extracted folder : 압축풀어준 폴더를 이동시킨다
sudo mv mongodb-macos-x86.64-x.x.x /usr/local/mongodb

Tip: use the “ls“! and TAB ; Read the error
If you meet the error “No such a file or directory”, then, to go root folder “/” and check the file directory
usr > locall > mongodb
otherwise, create it.

주의사항: ls 커멘드를 자주 사용하세요. Tab을 이용해서 폴더명을 완료하는게 좋습니다.
혹시 경로에 파일이 없다거나 비슷한 에러를 보시면, 상위폴더로 가셔서 직접 확인하시고, 없으면 만드세요.
MongoDB stores the data in the folder/data/db: 몽고DB가 사용할 폴더를 만듭니다.
sudo mkdir -p /data/dbMake sure to check the folder whether it has created correctly before moving forward: 역시, 폴더생성여부를 만드시 확인하시고, 다음 단계로 가셔야합니다.
Add all the path of MongoDB to the bash profile: 몽고DB환경변수 설정하기 (이번 작업중 가장 난해한 작업!!! 주의!!!)
- Add all the path of MongoDB to the bash profile,
-> go to the home directory bycdcommand and verify it bypwd
-> list all hidden files byls -alyou will find.bash_profile, if not, create it with commandtouch .bash_profile
-> Open.bash_profilewith commandopen .bash_profile
-> Add below code to the end of your.bash_proflie - 우선 data/db 폴더를 생성한 폴더로 이동하세요. 저의 경우,
user > (유저이름) > PythonHome 폴더에 만들었습니다.
해당 폴더에서, .bash_profile을 있음을 확인합니다.
ls -all : 현재 디렉토리내에 모든 데이터를 보여준다.보통은 없는 경우가 많습니다. 그럴땐 만들어줍니다.
$ vi ~/.bash_profile 에러 뜨는 사람은 -> $ open .bash_profile파일안에 아래 내용을 그대로 입력합니다.
# Setting PATH for Python 3.8
# The original version is save in .bash_profile.pysave
PATH="/Library/Frameworks/Python.framework/Versions/3.8/bin:${PATH}"
export PATH

# >>> conda initialize >>>
# !! Contents within this block are managed by 'condo init' !!
__conda_setup="$('/Users/본인컴퓨터유저명/anaconda3/bin/conda' 'sheel.bash' 'hook' 2> /dev/null)"
if [ $? -eq 0 ]; then
	eval "$__conda_setup"
else
    if [ -f "/Users/본인컴퓨터유저명/anaconda3//etc/profile.d/conda.sh" ]; then
	. "/Users/본인컴퓨터유저명/anaconda3/etc/profile.d/conda.sh"
    else
        export PATH="/Users/본인컴퓨터유저명/anaconda3/bin:$PATH"
    fi
fi
unset __conda_setup
# <<< conda initialize <<<
export MONGO_PATH=/usr/local/mongodb
export PATH=$PATH:$MONGO_PATH/bin
” 본인컴퓨터유저명 “을 본인이 사용하고 있는 맥의 유저명으로 변경해주세요.
변경한 파일을 적용하기 위해 아래 명령어를 실행합니다.
source ~/.bash_profile 또는 source .bash_profile
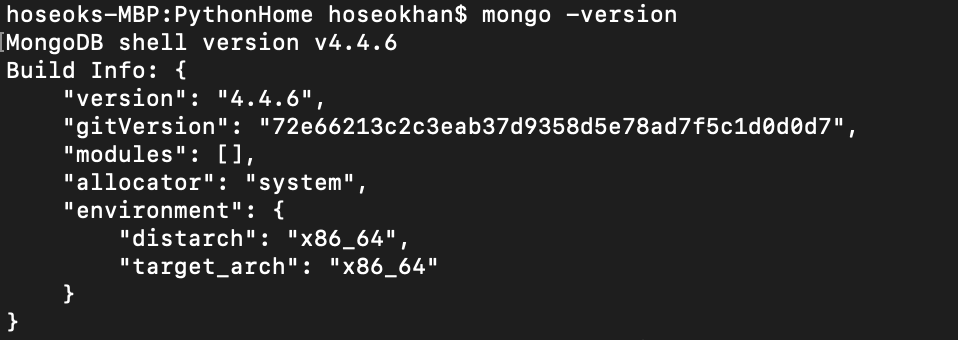
설치 확인을 위해,
$ mongo -version
- Check if it has been installed successfully or not:
-> Open two terminals and
-> In one of the terminal execute the commandmongodto start mongo demon
-> In another typemongoand press enter to interact with MongoDB.
최종확인을 터미널에서 mongod를 치신후, 브라우저에서 localhost:27017를 입력한후, 아래 문구가 나오면 성공.


주의!!
실행하실때, 보안에러가 나는경우가 있습니다. (예: 앱스토어 이외의 다운로드 파일은 실행하지 않음 등)
이런 경우, 보안설정텝으로 가셔서, 해당 앱(mongodb)를 수동으로 승인해주시면 됩니다.
